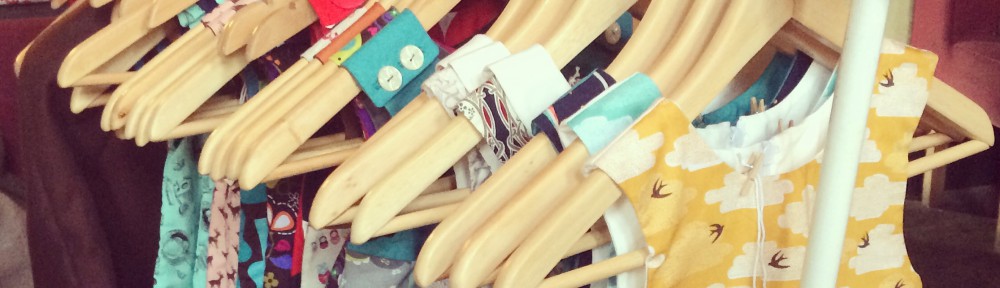
Spring is here. I know it doesn’t particularly look like it but I saw daffodils today, so that makes it an actual fact. This also means it was time for new shop decorations – and a lovely tutorial to match. Don’t say I don’t spoil you.

I decided to go with some cute little felt birds perched on embroidery hoops this spring. I love making things from felt firstly because it’s easy – you put a template on some felt and cut it. It doesn’t move about and drive you a little bit mental like cotton can. Also I can buy a metre of the stuff for £4 down Walthamstow market. Now I grant you a metre is rather excessive for some tiny little felt birds, but come on. It’s a bargain. Screw you Hobbycraft.

Anyway I digress. Here’s what you actually need…
- Blue, yellow and white felt (or whatever colours you fancy) One square of each will be enough.
- Blue, yellow and black embroidery thread
- Fabric glue
- Scissors
- Embroidery needle
- Stuffing
- This lovely pattern, which you can download HERE
- Pencil to draw around the patterns with

So first up let’s do the Tweet Bird.

Get the two body pieces and your black embroidery thread (you only need to use two strands at a time for any embroidery thread used in these patterns) and sew it through, leaving it a little loose to create a semi circle. I sew this down in the middle to keep it in place, but you don’t have to.

Next, starting at the beak, sew all the way down the back with two strands of the blue embroidery thread. When you reach the tail, line it up the white bottom of the bird and, starting at the middle of the tail, keep on sewing round holding the edges together.

When you get to the end of the body piece at the start of the beak sew the two blue sides together and then pass the needle under the stitches and back to the start of the white felt and sew down the other side of the body. About two thirds of the way down, pause sewing, stuff the body full of stuffing then sew up to the end. Now all you have to do is stick on the wings (you could sew these on two, but I decided life was too short) and there you have it. Your cute birdie is complete.

Now we’re on a roll let’s do the Little Chick. Which is, in no way, an angry bird. It has a sweet nature. First thing to do is sew two eyes. I went for simple little crosses, but you could do loops the same as the Tweet Bird, if you so wished. Next sew the two tiny beak triangles together then sew this to the bird between the middle stitches.

Next pick a corner and start sewing to the top. When you get there pick another side and sew back down to the bottom again. Then with the last side start at the top again so there are no gaps and then, when you get half way down, stop sewing, stuff it full with stuffing, then sew it up. Stick on the wings, then finally take the tail piece and sew it on the birdie’s bum and you’re done.

To attach them to an embroidery hoop take it apart so you just have an inner hoop. Sew through the bottom of the bird, round the hoop twice, then sew through the bird again to where you would like the second leg to go (make sure they’re a decent amount apart or the bird will wobble about) then go back through the bird wrap it round a few times and tie it tight.
There you have it, two lovely little birds. Just one tiny thing, these are only to be made by you for fun, not for financial gain, so please do not sell any items made from these patterns as that’s just not cricket and it will make me sad (and possibly a touch stabby) and no one wants that now do they?
One last thing! Here are the rainbow rain clouds I made for the window display. Nice, eh?

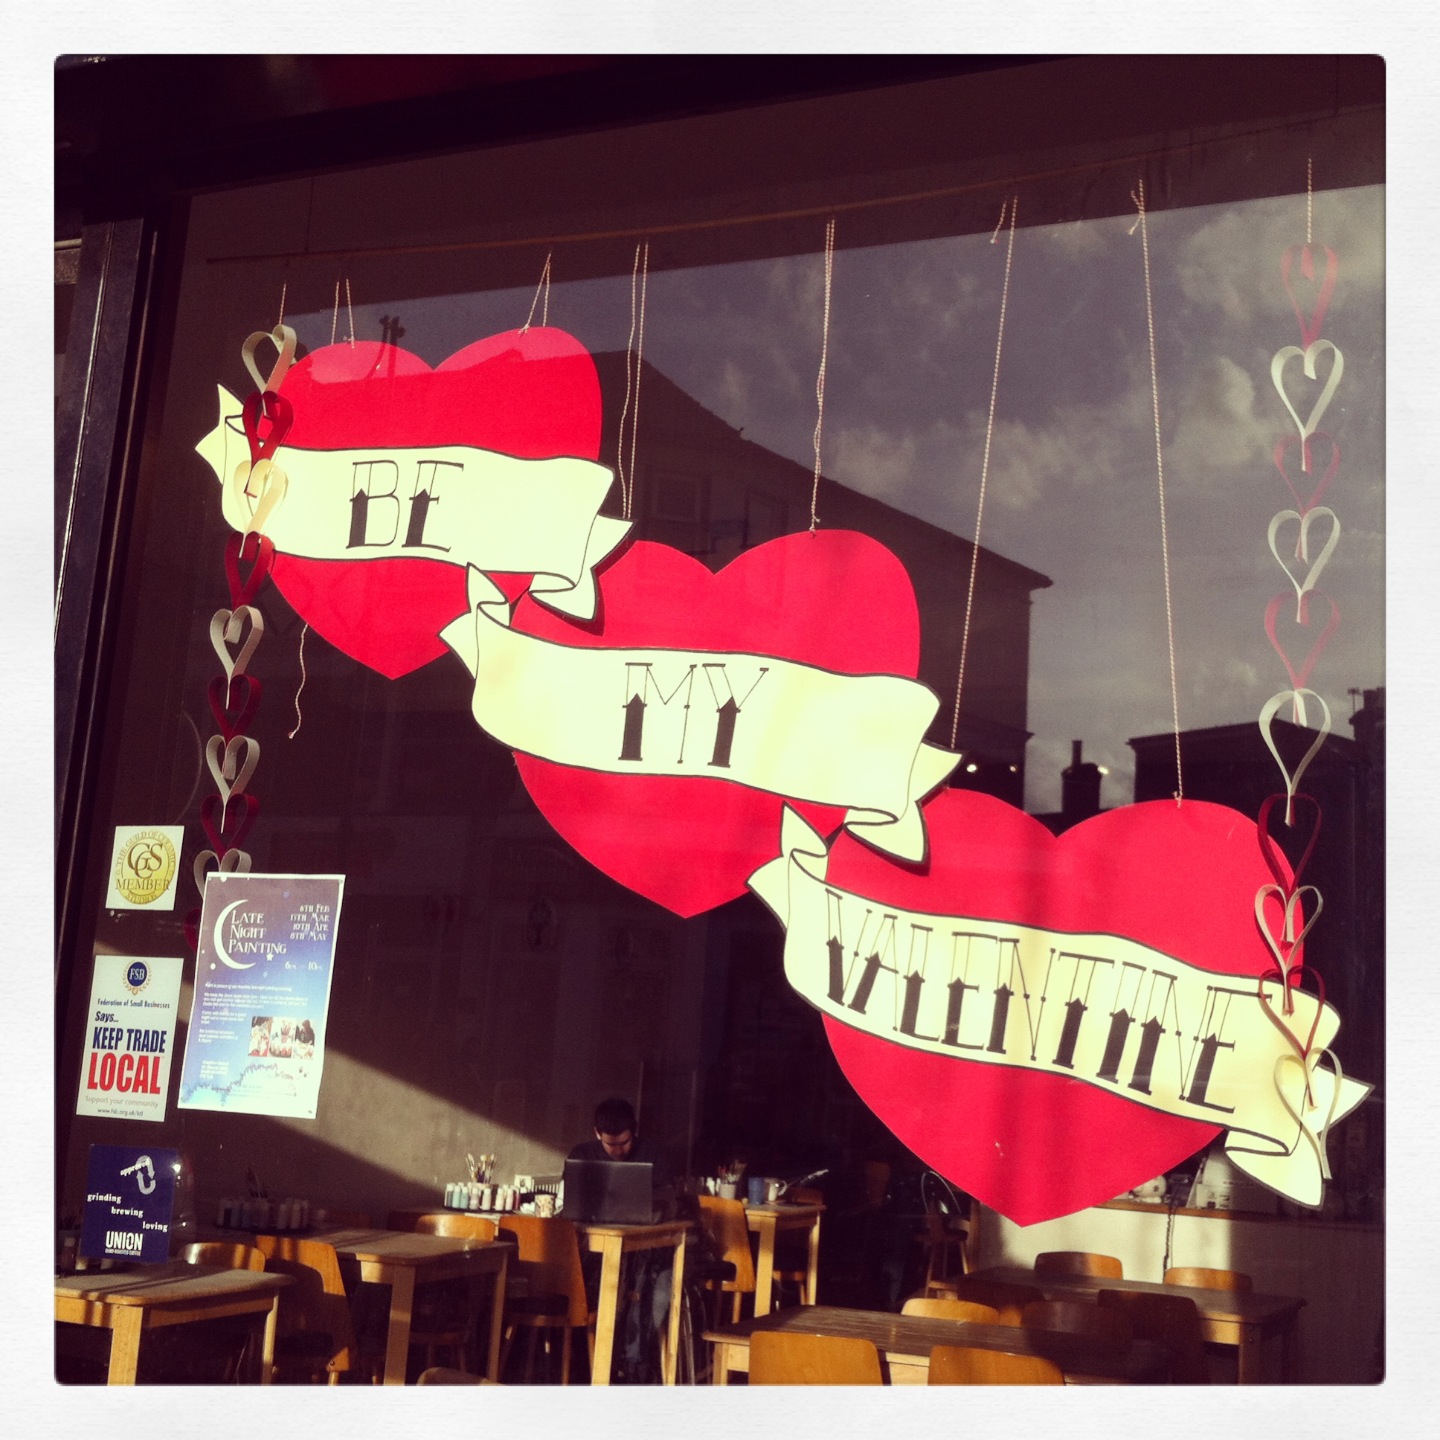
And in case you missed them these were the hearts for Valentine’s day. Feel the love.

So cute!
Excellent, they’re 3D haha – very sweet indeed 🙂
Love these birdies! They are so so cute 🙂